In late 2022, I purchased a small apartment building in Philadelphia that required a “cosmetic” rehab before I could fully lease it. I touched upon my desire to steward property responsibly and affordably in my About Me page, but I’ll be sure to speak more in a future post about why and how real estate investments, especially right now, and especially in Philadelphia, are a sound way of making your money work for you (rather than you always working for money!)
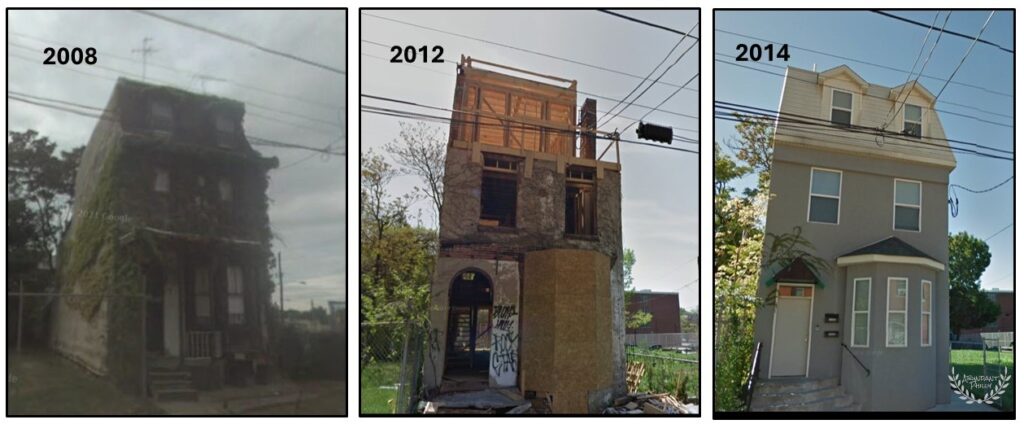
Credit: GoogleMaps.com
For now, I’ll go into the particulars of this project:
The Property
I prefer to purchase properties needing a rehab in some significant way – that way, I avoid deferring too much of the maintenance to a later date (when repairs/improvements are likely to cost more), and once the renovation is complete, I’ve added value to the property and thus added to my share of the equity/value. My first investment acquisition in Philly:
- Location: North Philadelphia, west of Broad Street and south of U.S. Highway 1.
- Age: Built before 1970, conversion into apartments in 2005.
- Size: Target rehab was the top floor apartment, approx. 1,000 sq ft.
- Layout: Two bedrooms, 1 bathroom. Included common space for a galley-style kitchen, separate pantry, and a dining area.
- Utilities: Separated by apartment, all-electric heating & power, public water service.
- Budget: $19,000 (including contingency!)
- Timeline: 8 weeks – I budgeted to make the mortgage payments in the meantime.
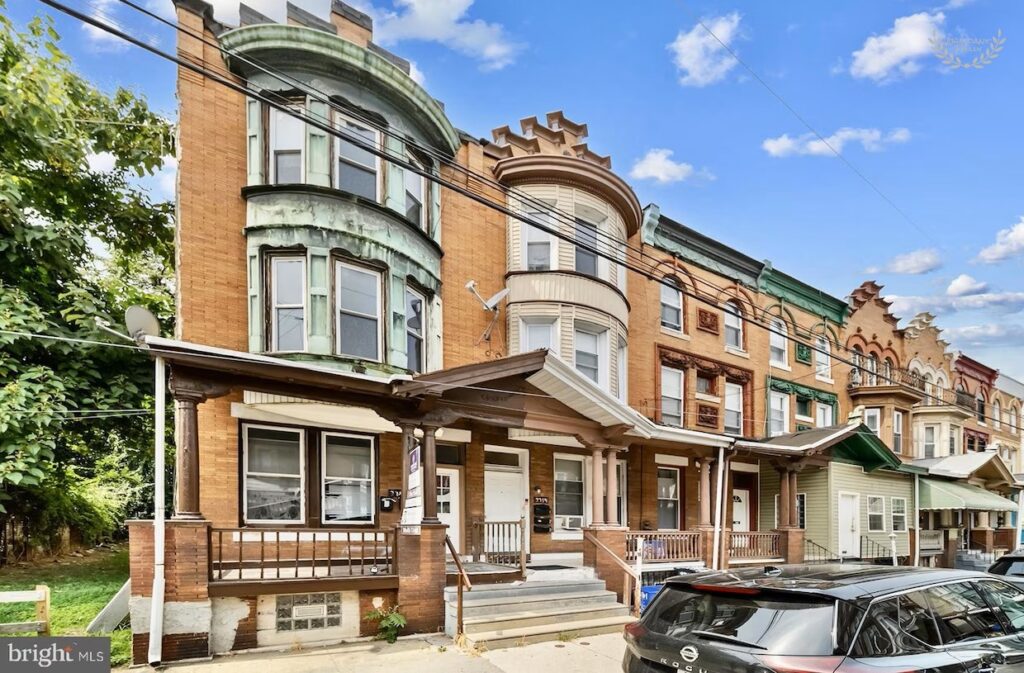
Photo Gallery
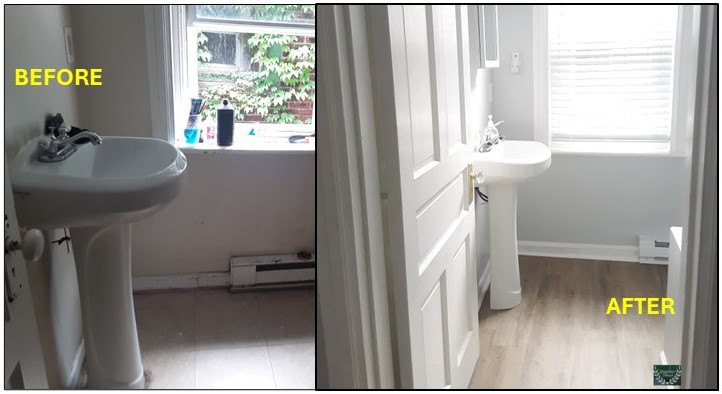
For those of you just here for the visual transformation (which I am very proud of!), a photo gallery of the apartment before, after and during the renovation can be found through this link.
The BEFORE (a.k.a. The Challenges)
- Vacancy & Security: The previous tenant was a long-term renter who moved out before we closed on the sale of the building. The same day I closed on the building, I paid to have the locks to both the apartment and building changed.
- Below-Market Rent: Tenant was paying $800/month, the same amount I paid for a two-bedroom rental back in 2017.
- Pest Control: Major roach infestation was evident! To keep my construction team safe and avoid those pests finding refuge in other apartments, as started demo, I requested the seller bring in an exterminator for treatment before we closed AND I had my favorite local company come in for another treatment after we closed.
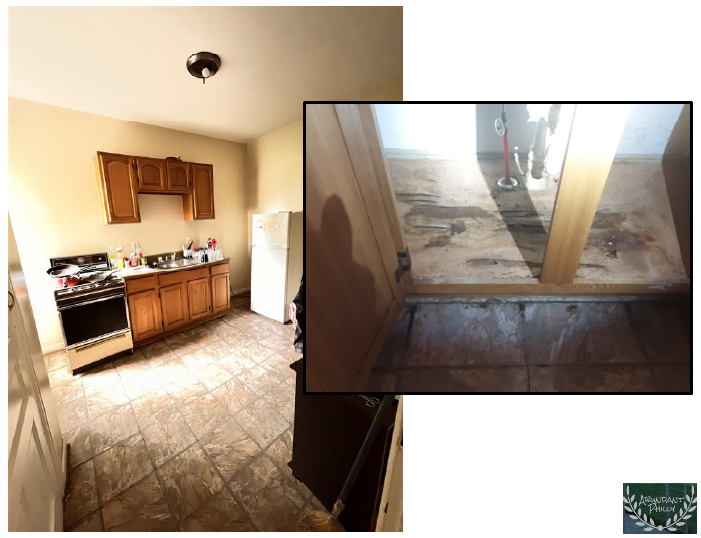
Did you know that roaches in high enough populations leave visible, smelly “frass” or residue wherever they are?? The existing cabinets were vibrating with baby roach activity!
- Goal for the renovation: To find a quality resident/family for the space and get a monthly rent closer to market value, I wanted to completely upgrade all the rooms, appliances, walls, and flooring.
Important Note: I went in understanding that my expenses (mortgage, taxes, insurance, maintenance & licensing fees, and capital improvement/turnover fund) would be covered even if I wouldn’t be able to raise rents more than $100/month following the renovation!
The (De)construction Process
- The Team: I am blessed to have a father with 30+ years of construction experience as owner and operator of Isaac Drywall (he does it all!) He, my uncle, and his son (my cousin) were all integral to this successful renovation!
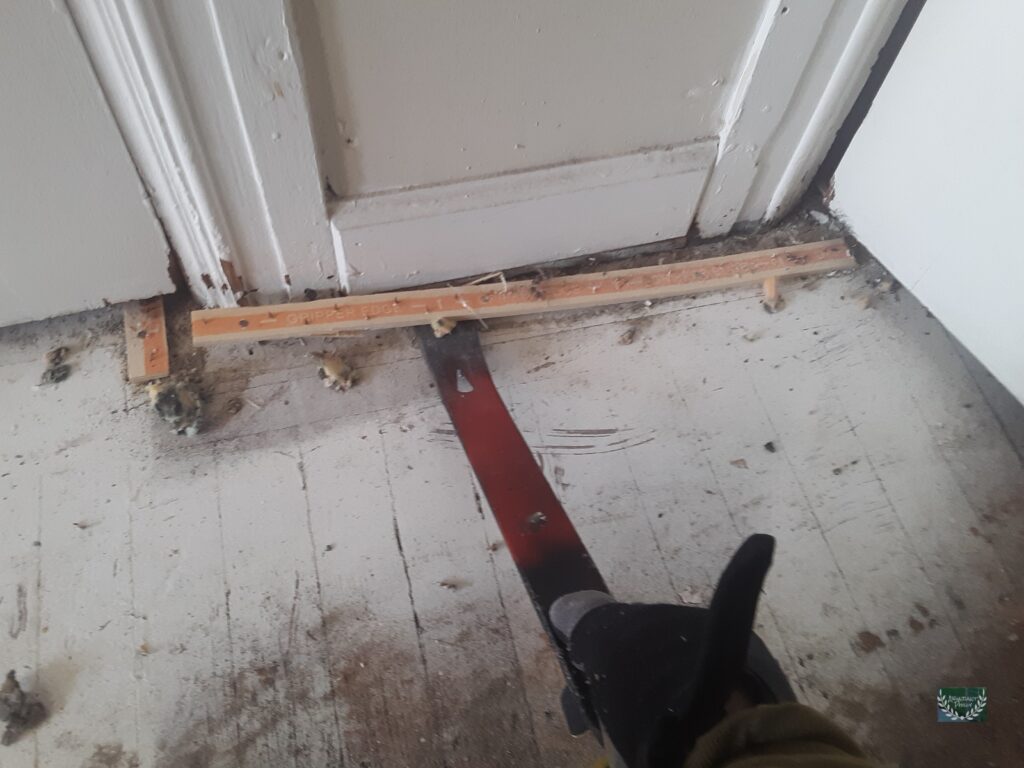
- Demo: In my opinion, the most entertaining part of the rehab process for a house is the demo! I helped pull up the flooring. My dad employed this great technique of scrapping the floor for pins and staples once the carpeting was pulled up.
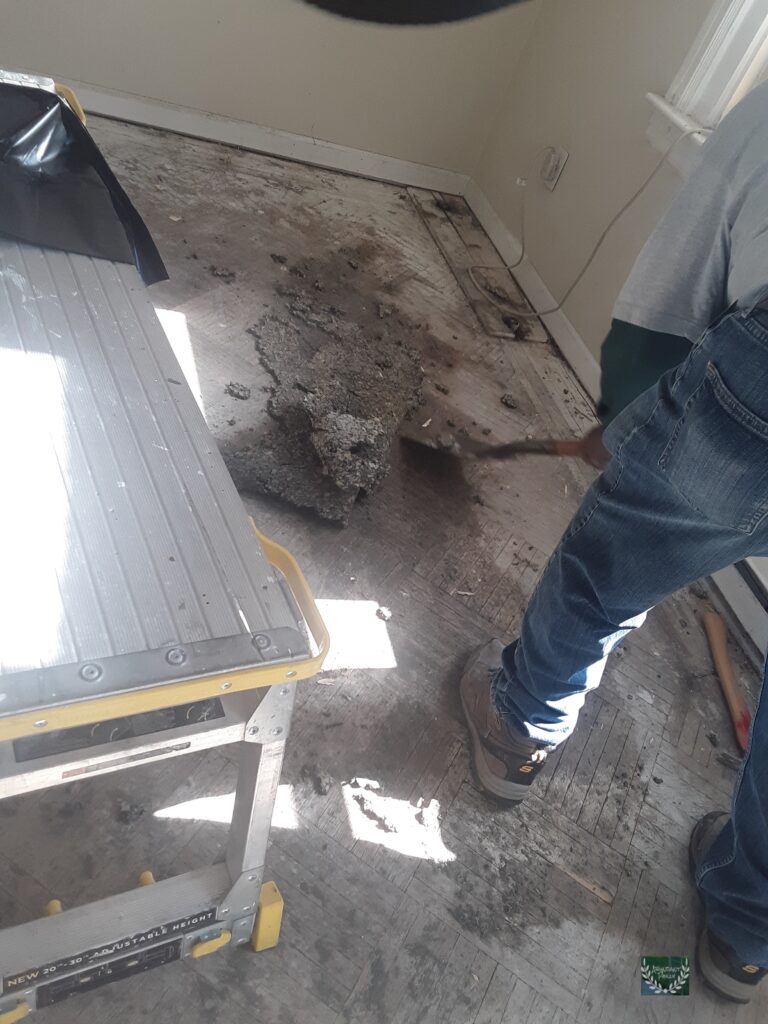
- Everything had to go – and it was still important to have the utilities (electric and water) operational for use of tools, and the toilet & sink we left in tact for obvious reasons! My contractor loaded trucks to dispose of the materials directly, and worked this cost into the bid, rather than me pay for a dumpster service outside.
- This depth of rehab construction could be called a “lipstick renovation”, since no changes were made to the layout/walls/framing or to the major systems (plumbing, electrical, etc
The Surprises!
If the cockroach frass discovery wasn’t enough – we encountered a few curiosities as the demo unfolded:
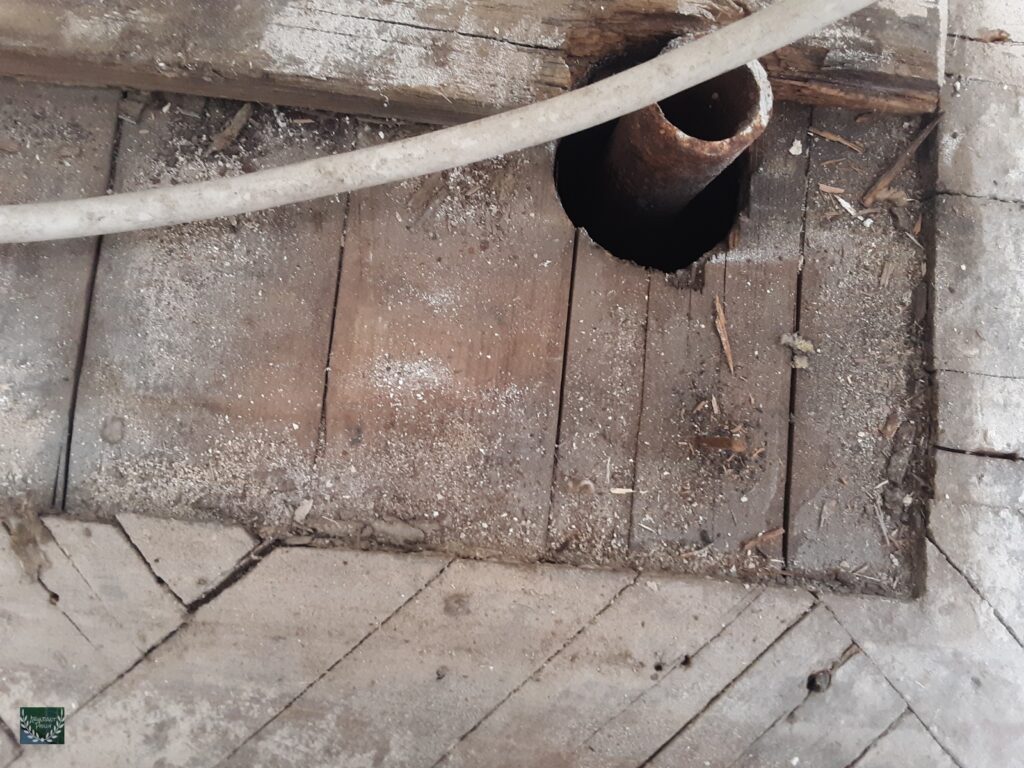
- As we pulled up the old carpeting and sponge layers, we revealed tragically marked up marque flooring, as well as jagged iron pipe coming up from the floor – remnants of an old furnace – in both bedrooms.
- This required a delay in the remaining demo, while my contractor shaved down the iron a bit below the floor surface and leveled around the pipe with new lumber.
- We also noticed a curious extra layer of interior wall on one side of the bedroom, which faces the backyard. We could tell this new addition had been sandwiched up against the existing window frame, cutting off one of the square trim details at the corner of the window frame:
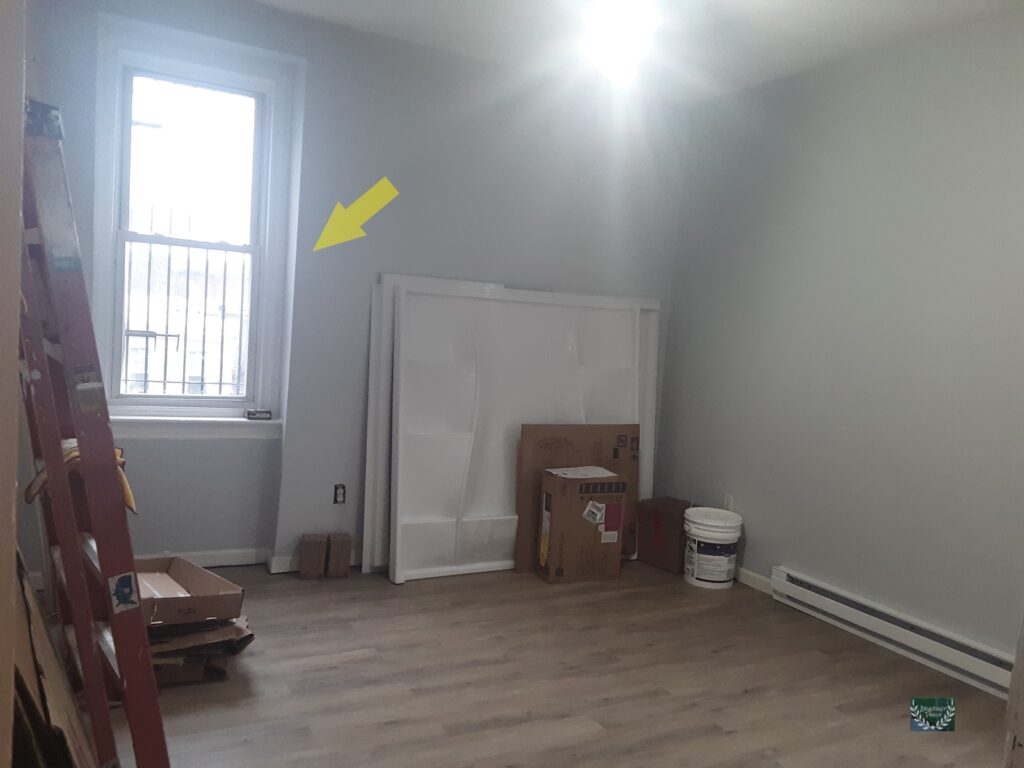
We wondered at what treasures (or horrors) we might discover behind that bumped out wall. But we dared not adventure too far beyond the scope of work planned, and humbly left it intact.
Buying EVERYTHING In The Right Order To Finish On Time
One aspect of home renovation that I don’t think one is likely to appreciate is the sheer abundance of choice available to you at every stage in the process: flooring material, appliances, knobs, trim/door/wall/accent paint colors, and so on – and each choice has its own size, efficiency and finish elements that will individually rank as the good, better and best option for both your physical circumstance (a modest rental) and your financial situation (a modest budget – and this was NOT a “BRRR” project – which I’ll get into in another post.) Since this project, I’ve been able to find some choice options online when seeking to do a quality, budget home rehab, and I’ve made my Amazon shopping list available for you. This is an Amazon affiliate store and I do get a small commission if you purchase my recommendations through those links – I do appreciate your support!
We went the route of delivery for most of the materials, so my small construction team could concentrate on execution over pickup runs. I assumed everything was going to take longer than expected to arrive, and leaned on my contractor for the timing of ordering the materials:
- Cabinets purchased first – they took a few weeks to arrive.
- Windows next – had to order non-standard sizes to preserve the existing Baroque-style frames & trim.
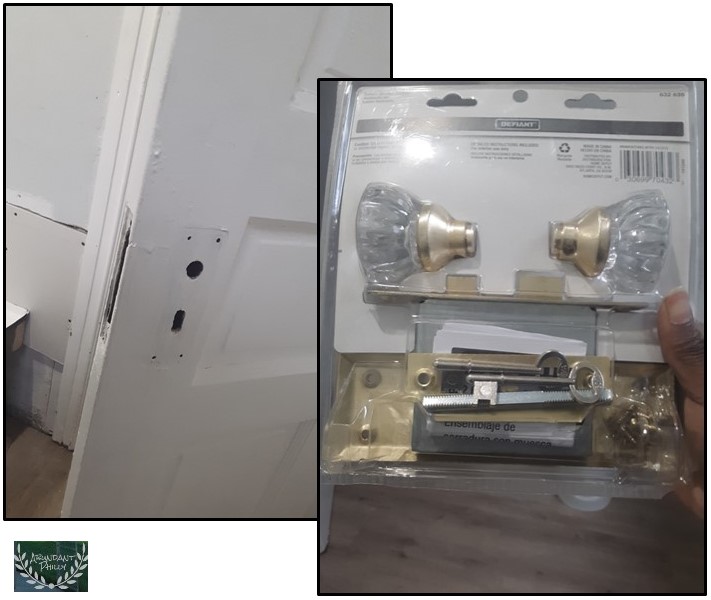
- Flooring – I used a laminate plank (LTV.) Durable and looks great too!Paint – Chose a semi-gloss white for the window and door trim, and a cool eggshell grey-blue for the walls.Bathroom vanity (kept the original sink), tub, tub surround (found one on discount! Otherwise, I might have been convinced to do tile), toilet and all the fittings/fixtures and handles to go with them.Countertops – I used Washington Brothers for both the purchase and installation of the granite countertops and the kitchen sink.
- Kitchen appliances – Finding a range AND fridge to fit the 2ft-wide narrow hallway to the kitchen was a blessing; but the process almost made me want to open up a wall!
Other elements and accessories I could order and hold on to personally until my contractor needed them (not recommended unless you and your contractor have truly mapped out the process together – being on the same page is ESSENTIAL.
THE AFTER (a.k.a. LIGHT AT THE END OF THE TUNNEL)
Painting was one of the final jobs before fully installing the kitchen appliances. Certain imperfections remained on the “punch list”, like the new toilet being installed, due to my interesting way I financed this project – which I talk more about in another post.
In the end, I spent $1,000 less than the next-best bid, got to spend some quality time and an education on home building by my dad as my contractor, AND ended up with a beautifully-rehabbed home ready for the next resident!
A loving family moved in to the apartment 8 weeks after completion – and not too bad of timing since we wrapped this project up in December, during a time when demand for rentals is notoriously low!
LESSONS LEARNED?
- I need to have a contingency budget that can cover unplanned material AND labor costs. While my dad was solid in limiting his change orders for me, we did run into surprises that took up more time (cost) than material (cost.) So, while I planned for pricing for materials to have a wiggle room between my closing on the home and finishing the rehab this time; on my time project, any half-day delays to shave down rusty furnace piping, or to redo the shower/washer hookups, will cost a lot more than an extra Home Depot run for a new piece of pipe fitting or saw blade.
- The better product was often more worth it than just the “good” (i.e., durability!); but also the better was often far more valuable than the “best”. Finding the right size level of finish was critical to the budget, and my views on this did evolve as the rehab continued. Did I really want to pay for stainless steel in the kitchen? Would renters care more about having more clean & durable cabinets or fewer smooth & modern (more expensive) ones? Understanding the neighborhood, and the “class” of rentals available in the area really helped evolve my thinking – this was ultimately someone else’s home I was building, and my taste level needed to be less-personal, while still reliably solid.
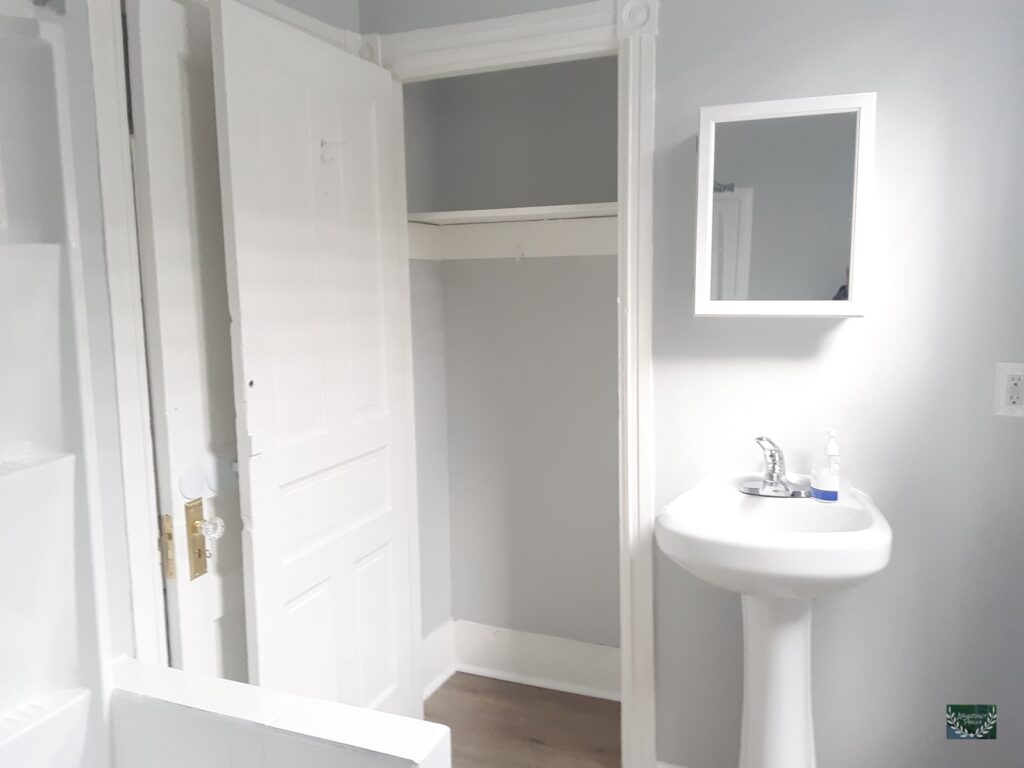
- Post rehab, take the BEST PHOTOS POSSIBLE, and ideally during the day, when starting to advertise for a tenant. I saw a near-100% uptick in interest from prospective tenants when I replaced my first set of apartment photos (hastily taken at dusk, after work) with new ones (more carefully curated and in the late-morning sun.) Its worth it to go out of your way for these to be right.
- Everything always takes more time than you think. This lesson in patience is one I find myself learning. Often.
Here’s another look at the photo gallery of the home before, during and after the renovation. I’ll detail the financing and tenant selection (leasing) process in future posts. I’m incredibly proud of this apartment’s transformation and blessed to have found the right family to enjoy it!
Stay growing,
Key

I’ve never done it, but it seems the HARDEST part of doing a rehab, is finding quality, honest workers who will do what’s right the first time. No short cuts!