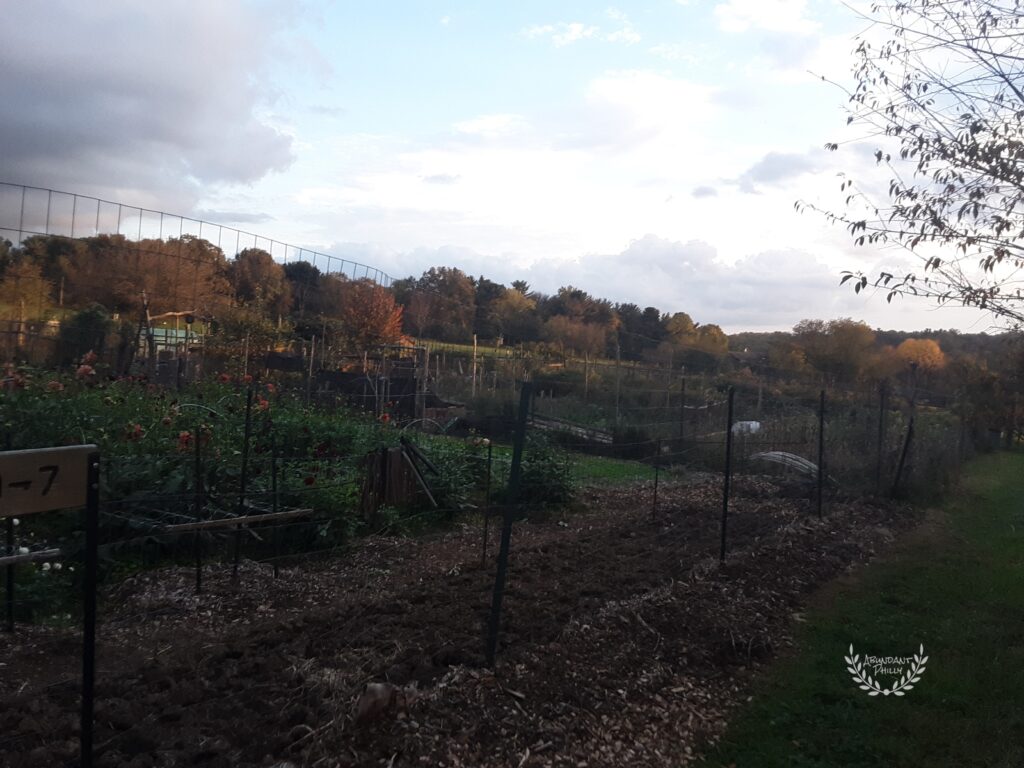
We’ve reached that time in the year when there’s a noticeable chill in the air. The beautiful amber, yellow and browned leaves are just about done falling around the outskirts of the city – and my neighborhood’s trees in the inner city are not far behind. After an unrelentingly hot and humid Fall, the weather is finally turning, and we received our first snow fall the other night.
And this Florida-native couldn’t be more excited! Not for the cold and snow… sorry, I could never. Rather, because winter means I can begin one of the most cost-effective, high-value and low-stress ways of preparing for the next growing season I’ve ever found: winter sowing.
What is Winter Sowing?
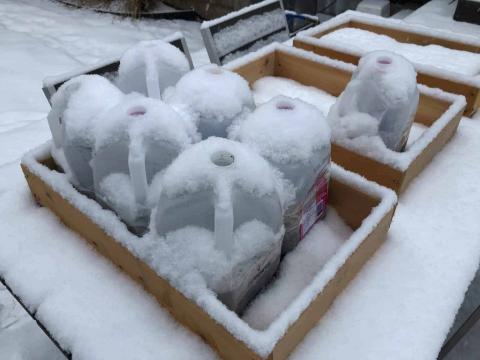
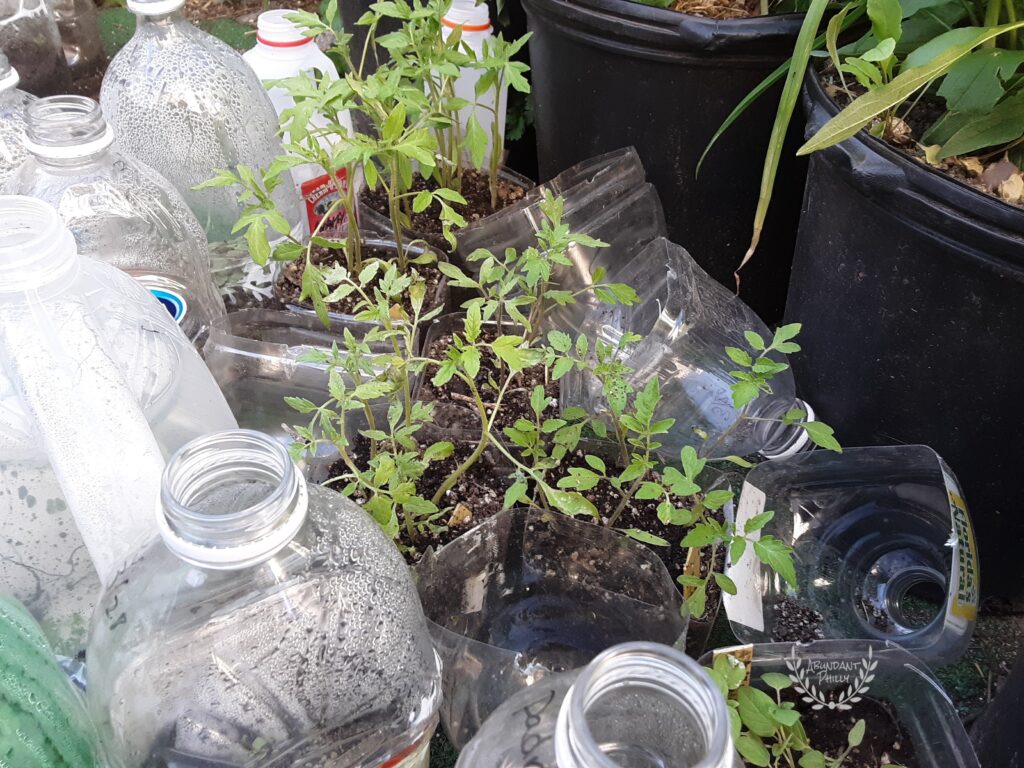
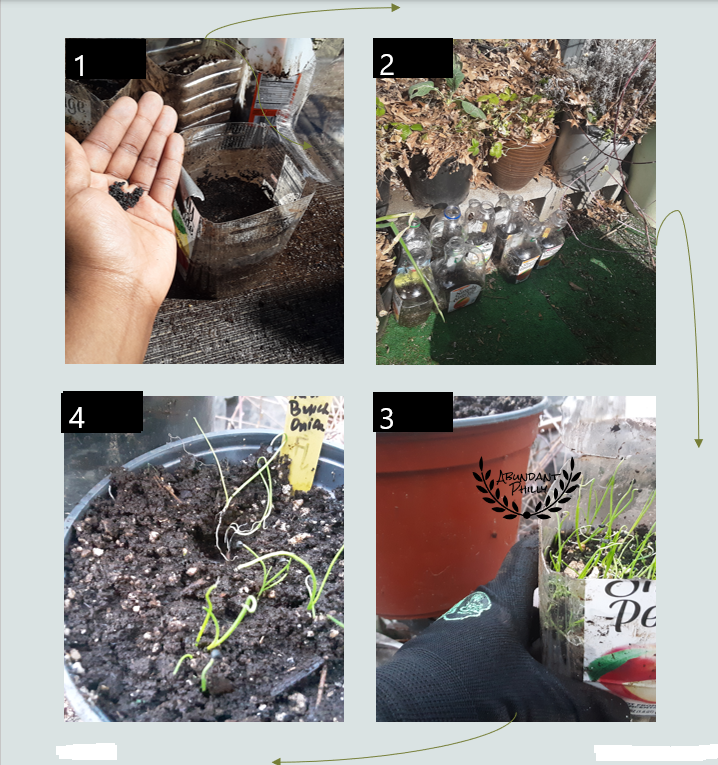
Winter sowing is the practice of sowing seeds outside during the winter months. Seeds are planted in a DIY greenhouse (which I make from recycled materials), using a well-draining growing medium and a slow-release fertilizer/nutrient of your choice. The winter-sown seeds will sit outside unattended until the ambient temperatures become warm enough for germination.
Now, the winters in USDA zone 7b in Philadelphia, PA tend to vary wildly throughout the season – fluctuating between sharp, dry cold periods, thick blankets of snow cover, and bewildering warm spells as Spring sets in during early March – and yet, the diversity of contexts where I saw other gardeners experiencing success with winter-sowing convinced me to try it out myself during the early months of 2018. I figured, if gardeners in Minnesota, Arizona and Kentucky could all start their greens, brassicas (e.g., broccoli, cabbage), and even tomatoes, outside earlier in the season, and get harvests earlier in the season, then it was at least worth a try in my damp, cold northeastern concrete jungle! Since then, winter sowing has become my go-to seed starting method.
Why Try Winter Sowing?
There are a lot of fabulous reasons to try winter-sowing. Here I’ve listed some of the biggest advantages.
- The Cost-Savings:
- No electricity or specialized growing equipment or infrastructure is required;
- You can do this method successfully with regular household items that you probably already have laying around (and if not you, likely a neighbor!)
- Winter sowing jugs have lasted 2-3 winters for me when stored inside after being used;
- Once I started winter sowing, purchasing the seeds became by far the largest expense when I’m ready to start my garden in the next year – the exception are those times when I’ve saved the seed from last year (and I spend even less) and/or I need to refresh my potting soil blend (and I may spend a little more buying those materials in bulk, which then last me for years.)
- The (Indoor) Space-Savings:
- Your DIY greenhouse can be placed outside on concrete, dirt or unused garden beds, uncovered outdoor furniture, weather-resilient shelves, etc. – anywhere that is flat and convenient for you to check on them every now and then;
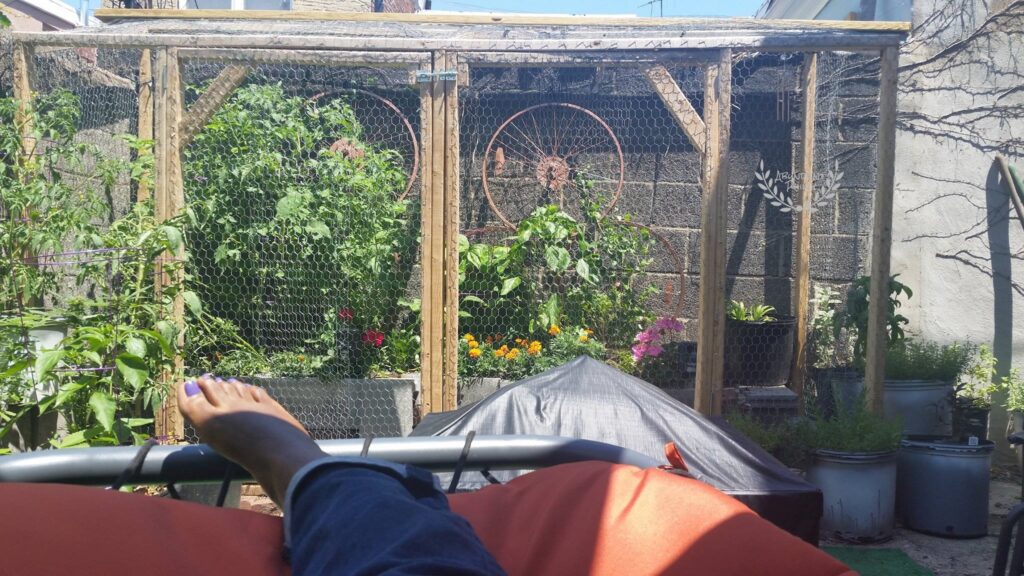
- When I wanted to start a garden at my rental, the basement conditions were not safe for an indoor lighting setup, or for me to spend a lot of time down there. And I didn’t have any other space inside to start the dozens of transplants I knew I wanted to grow. My otherwise unused back patio was perfect for winter sowing;
- That said, the location of your winter sowing containers needs to have full sun exposure to really take advantage of the “greenhouse effect” for timely germination – ideal sites have at least 3 hours of direct sun per day in the wintertime, with that increasing as the days get longer and Spring approaches.
- The Lower Maintenance (relative to other methods):
- Winter-sown containers need minimal monitoring. I like to go out there maybe twice a month until I start to see what, if anything, has germinated and whether the jugs need supplemental watering;
- When it comes to watering, the good thing is, you won’t have to water nearly as much or as often as during the warmer months – the jugs tend to hold on to the moisture for a long time;
- With the exposure winter-sown plants naturally have right from the start, there’s virtually no hardening off period for transplants;
- For anyone seeking to grow certain perennial flowers, shrubs or fruits, there is often a required “cold stratification” period – where in order to break their dormancy, the seeds need to undergo a time in freezing/near-freezing temperatures. You can achieve this indoors with your fridge or freezer, taking care not to encourage mold OR dry out the seeds too much (let me know if you’d like me to share my experiments in a future post!), but winter sowing accomplishes this naturally, right in the jugs.
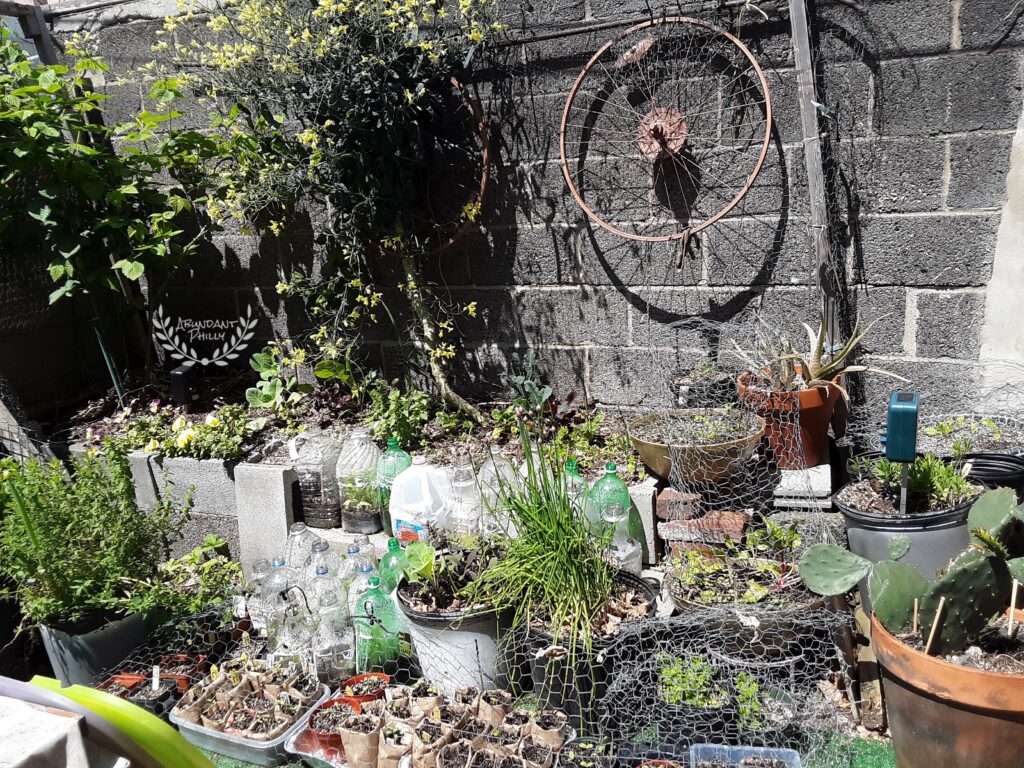
In summary, I get all the benefits of seed-starting with far fewer resources needed on my end: My seed-starting footprint each Winter/Spring consists of as many up-cycled old jugs as I can fit in a sunny spot on my patio. I completely neglect them for weeks at a time. And yet, I can still enjoy an abundance of home-grown seedlings, ready for transplanting to kick off my season early.
Getting Started Winter Sowing
In my next post, we’ll dive into exactly how I’ve successfully sown my seeds outdoors in winter for years in Philadelphia, PA. I’ll review the materials needed, how to set up a greenhouse with old beverage jugs, when I start winter sowing my favorite varieties, the varieties I’d recommend NOT trying to winter sow, how I monitor the germinated seedlings as the weather warms, and how I go about my transplant processes.
Stay growing,
Key

Pingback: How to Start Winter Sowing: My Step-by-Step Guide - Abundant Philly
Pingback: Growing Food & Flowers In Your (New?) Zone - Abundant Philly