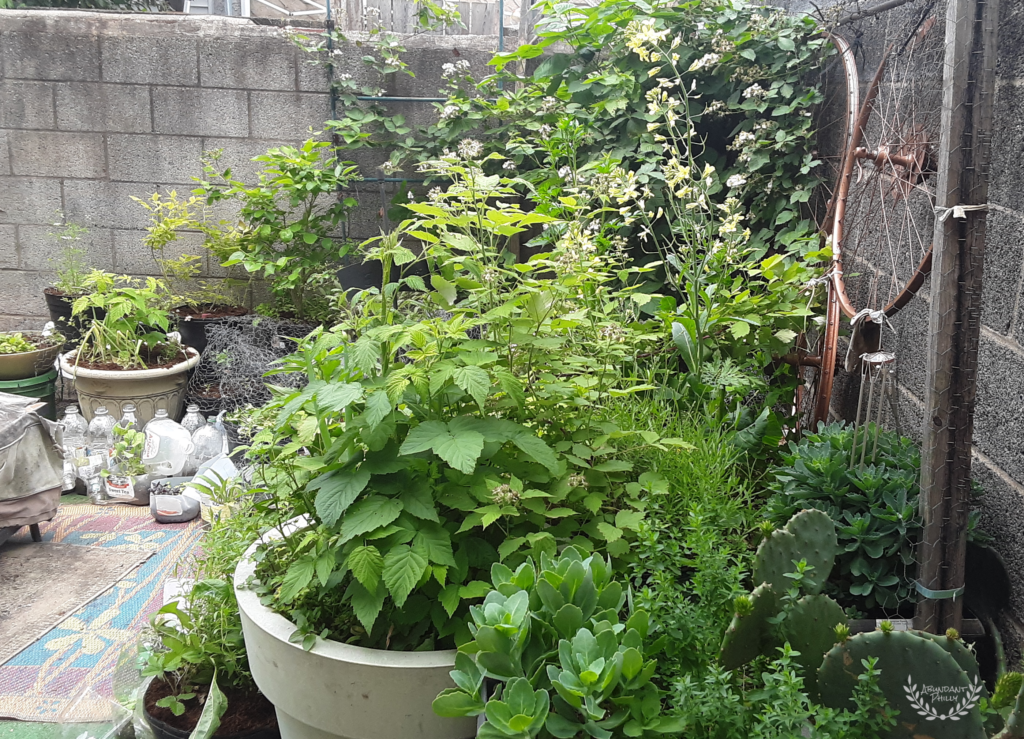
In my earlier post, I described a method for seed-starting that has become the most cost-effective, high-value and low-stress way for me to grow my own plant starts for the next growing season: winter sowing. In today’s post, I’ll be guiding you through a step-by-step process for how you can get started enjoying the same benefits!
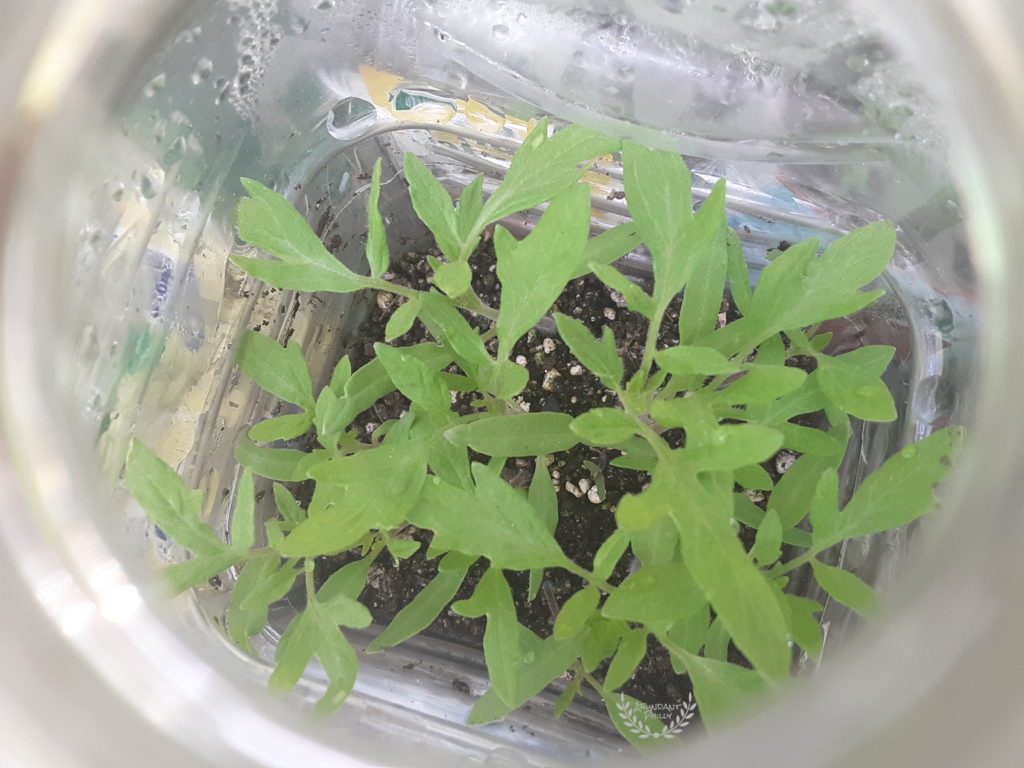
Winter sowing is the practice of sowing seeds outside during the winter months. Its as simple as planting seeds in a DIY-constructed greenhouse, using a well-draining growing medium and a slow-release fertilizer/nutrient of your choice. The winter-sown seeds will sit outside unattended until the ambient temperatures become warm enough for germination.
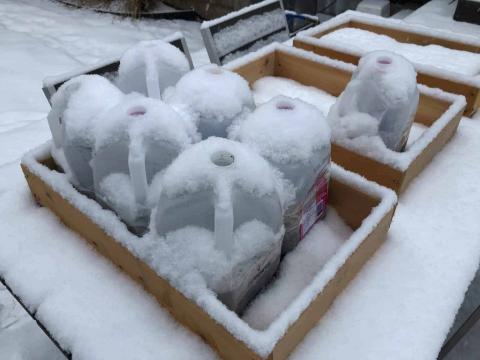
There are a lot of different ways to go about winter sowing. I’ll describe to you here the precise way I’ve found success in winter sowing thousands (if not tens of thousands!) of plants for years in Philadelphia, PA. We’ll go over the overall setup and my tips at each step in the process. And in my third post of this winter-sowing series, I’ll share my advice on the best timing for starting winter-sowing, and which varieties I’d steer away from winter-sowing as a beginner.
Let’s start with the handful of materials you’ll need for your first winter-sown containers:
Winter Sowing Materials List
- Clean, recycled beverage jugs or food tubs (think: the plastic containers for lettuce, spinach, etc. from the grocery store)
- Scissors or sharp utility knife
- Duct tape or packing tape
- Permanent marker
- Plant markers
- Potting/Seed starting mix of choice
- Slow-release plant nutrient of choice (I incorporate worm castings into my homemade potting mix blend)
- Optional, but highly recommended: Drill with a 1/4-inch drill bit (for poking holes)
Nearly all these items you’ll have already at home or can secure for free from a friend. The low bar for entry is one of the many benefits of winter sowing!
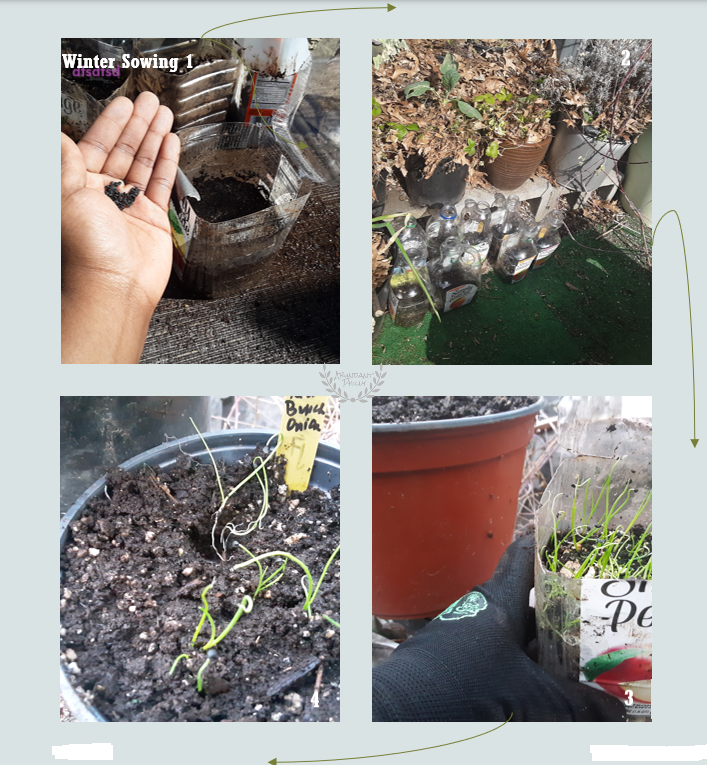
Step 1: Prepare your container/DIY greenhouse.
I’ve seen winter-sown containers take many forms – those used spinach/greens tubs from the grocery store, empty snack tubs that used to hold cheese balls or pretzels, aluminum roasters with the plastic tops from the dollar store, even regular 5-gal plastic pots with a plastic container thrown over top – you just want something you can cut in half, or that has a reasonable depth, and a way to vent the top, removable lid.
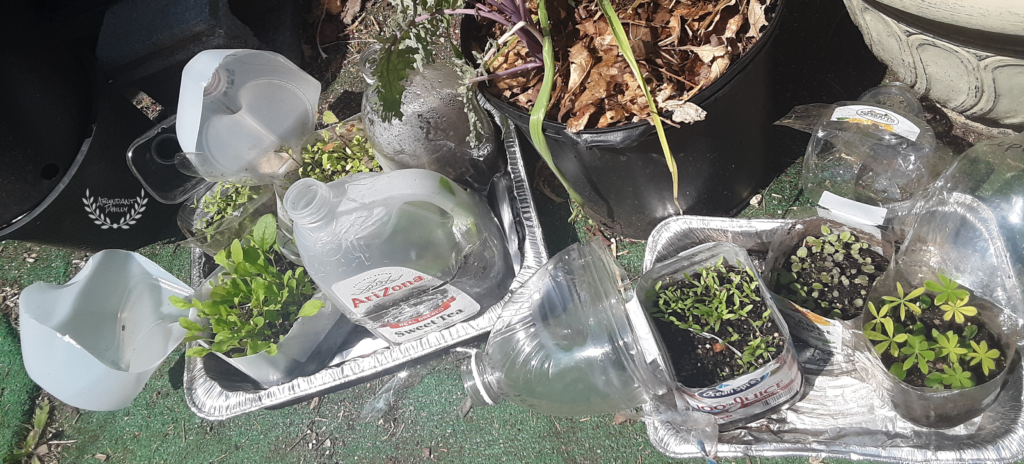
- My preferred vessel? Cleaned out old juice, water, milk and/or soda bottles (1/2 gallon or larger!)
Usually, juice jugs are sturdy-enough plastic that I can reuse them in future winters, plentiful in the recycling bins of my friends & neighbors, and easily sealed for ongoing monitoring and labeling. Regardless, it is important to choose something easily accessible, and ideally free. This tutorial will assume you are using an up-cycled plastic juice bottle.
- You need to create drainage holes at the bottom of your container.
Ideally, using a drill with a ¼-inch drill bit (or otherwise, carefully using scissors or a utility knife) make at least five drainage holes at the bottom of the bottle.
- You need to create an access point for future transplanting.
I drill one final hole on the front of the container, close to the center. Then, I’ll use that hole as a starting point for cutting all around the bottle, ALMOST cutting it in half. Stop with just two inches left holding it together – this will serve as your hinge. If your bottle has a handle (like a gallon milk jug), be sure to position your cut so the handle is fully above your cut line/hinge.
- Discard any bottle caps.
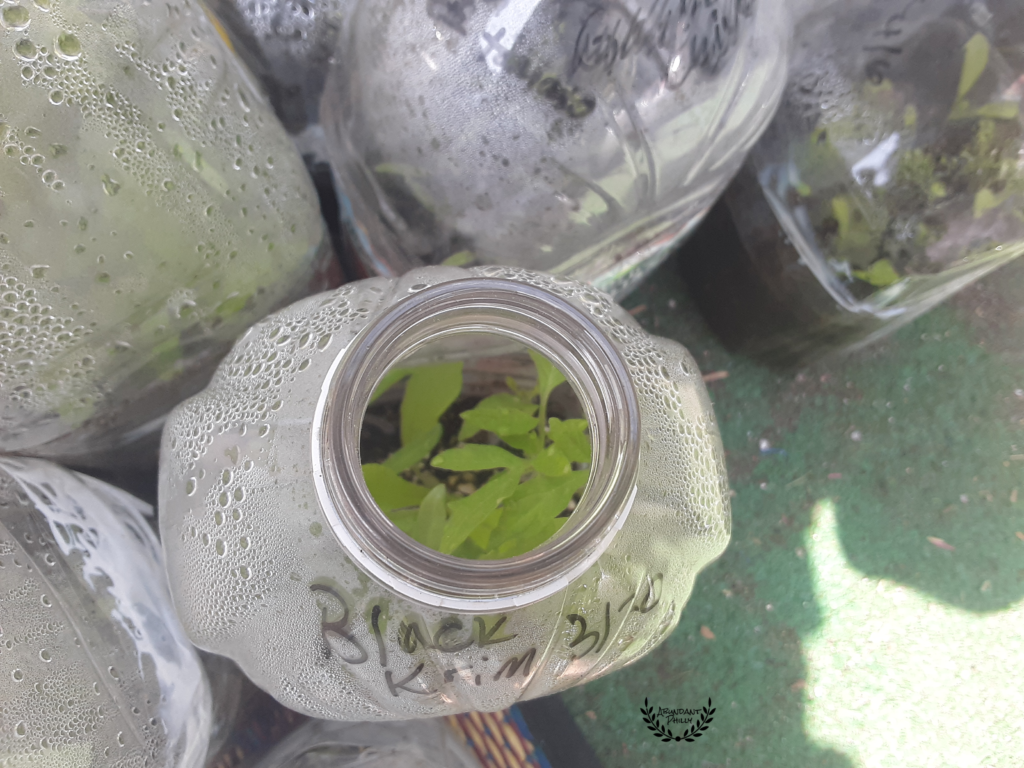
You won’t need them. Your winter-sown seeds need to be exposed to the air, snow, and rain during the entire season. This also provides a fun window to watch the growth of your plants!
Step 2: Add your potting mix.
I will dedicate a later post to how I create my own low-cost, free-draining, nutritious organic potting soil that serves me well both for seed-starting and growing dozens of annuals and perennials in a container all year in Philadelphia, PA. For now, you can either use the same mix you have for traditional seed-starting indoors, or otherwise choose your favorite potting or seed-starting bagged mix from the store.
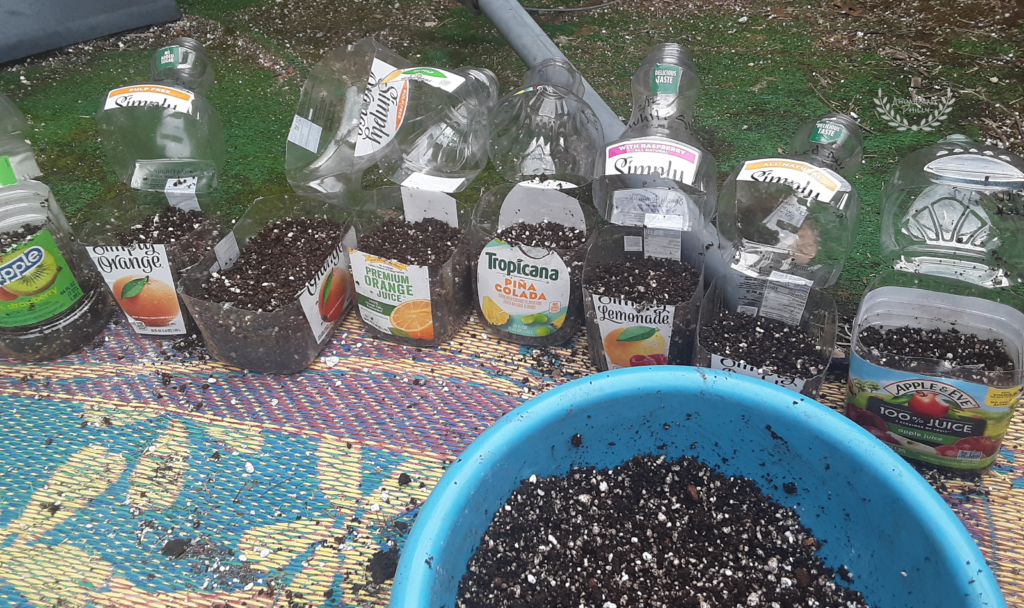
- Because these containers will sit unattended while outside, mix your your slow-release nutrient/fertilizer in with your potting mix at this stage. I recommend worm castings.
This can be a granular fertilizer, chemical additive, compost, or my favorite: homemade vermicompost. I prefer organic, but this is not necessary if the expense or convenience isn’t there for you. There will also be the opportunity to bottom-water a liquid fertilizer or compost tea once the seedlings are up, provided you aren’t experiencing freezing temperatures or a ton of rain that will wash away the nutrients before the plants can absorb them.
- Pre-moisten your mix before adding it to your container.
This will guarantee that your starting your seeds in a moist environment, while also avoiding the chance your seeds could get buried or washed out from top watering them after sowing.
- Add enough potting mix so that at least 1/3rd – 1/2 of the overall container is full of the growing medium.
Keep in mind that a lot of seedlings will spend months in your DIY greenhouse while continuing to grow, so they will need the headspace at the top while also needing enough growing medium for strong roots! You’ll get better at putting in the right amount with experience – since it depends on the variety of plant, the timing of your winter (as in, how long they’ll need to stay protected before being outside the container), and the characteristics of your growing medium (drainage, etc.) For now, make sure you have at least 1/3rd of the container with mix.
Step 3: Add your seeds.
In my next post, I’ll advise on the seeds that have and haven’t worked particularly well for winter-sowing in Philadelphia, PA. There are a few plant varieties that won’t take to winter-sowing, but the best way to grow your knowledge is to try – so experiment!
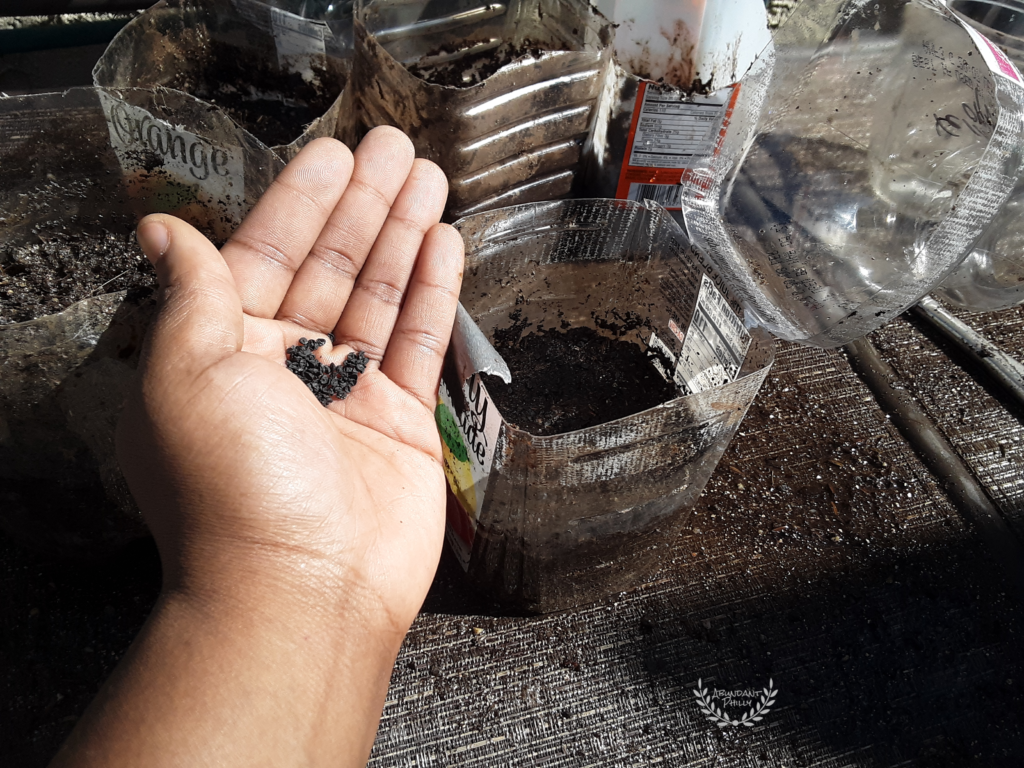
- Scatter your seeds across the soil in the DIY greenhouse.
You can be liberal with this – especially the first time around and/or if you’re using old, saved seeds.
- Use the back of your hand to gently press the seeds into the soil and cover as needed.
Follow the instructions on the back of the seed packet for how deep to cover the seeds with potting soil.
- Place a plant marker/label INSIDE the DIY greenhouse.
Step 4: Seal and place your winter sowing containers.
- Tape the top back to the bottom of the container.
- Use the permanent marker to label the OUTSIDE of the DIY with the plant variety and date.
Yes, you want to label your container for the inside and the outside. I’ve experienced some winters where the sun bleached out the outside labeling, so the inside plant marker was critical to knowing which tomatoes were which (and don’t count on “remembering”!) Putting the name in both places has always served me well come Spring.
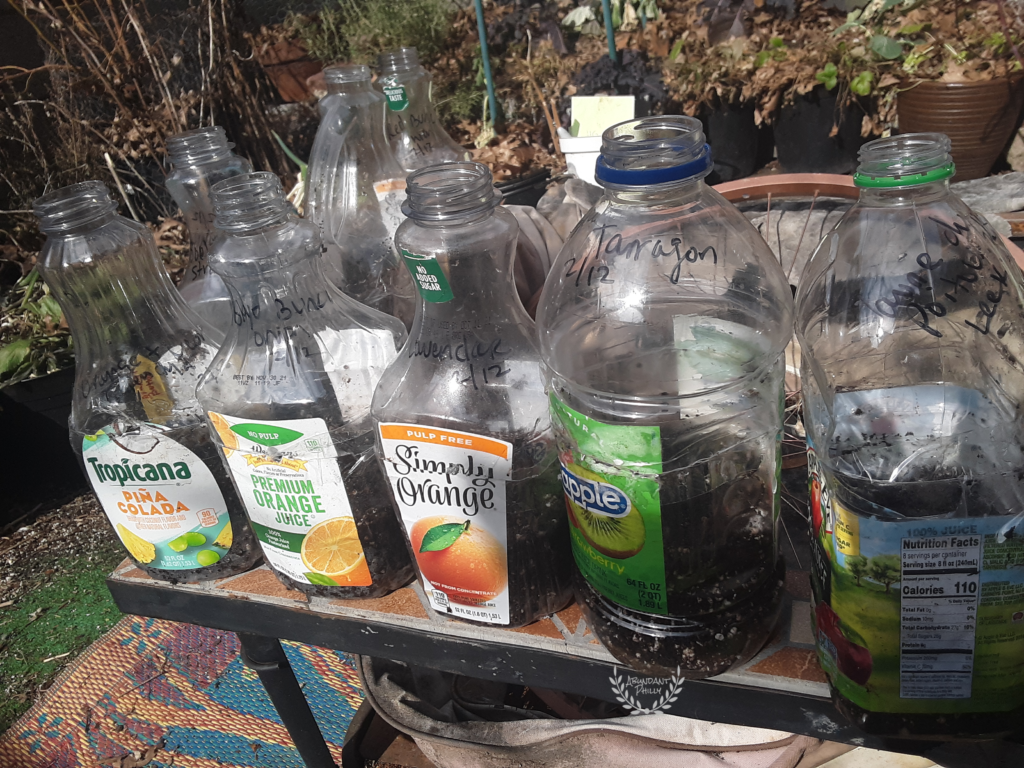
Step 5: Monitor your DIY greenhouses ahead of transplant.
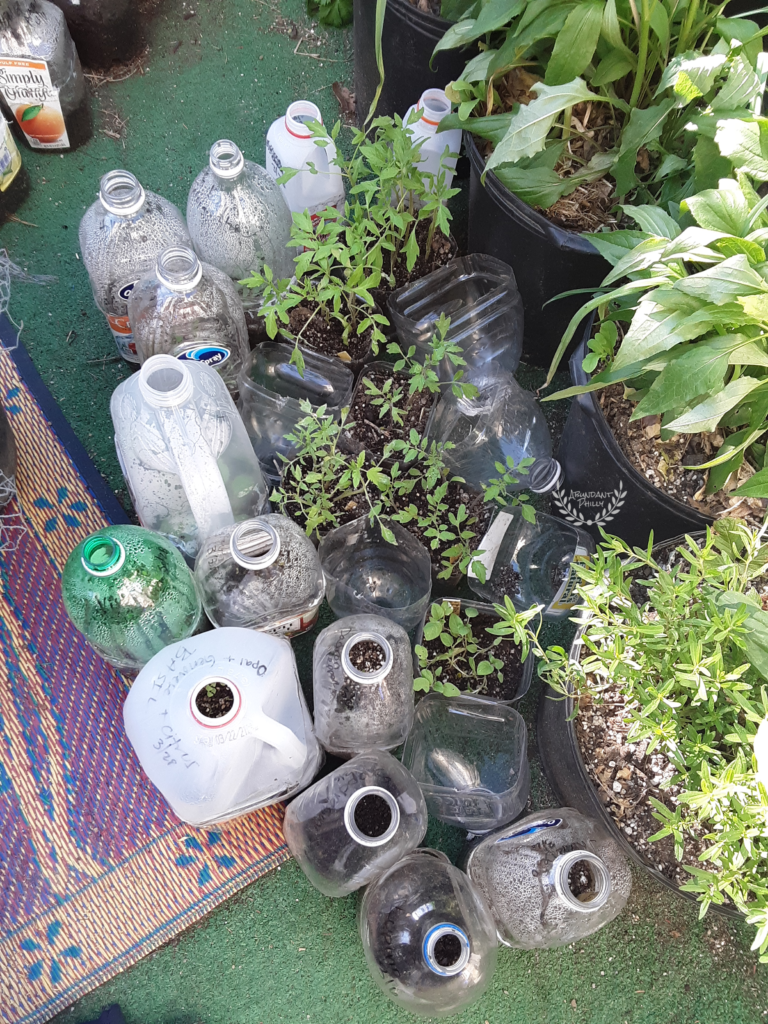
We’ll get into the “do’s and don’ts” of tending to your winter-sown seeds in the next post! As a teaser: there’s hardly any watering, no fertilizing (if you can help it) and no “hardening off” of the plant starts when you’re ready for transplanting. It truly is a lazy, but effective, way to approach starting your own seeds!
Stay growing,
Key
